 Research Article
Application Review of Machine Vision (MV) Technology in Construction Industry
Chan YL*, Cheung LC, Zheng L and Fok HY
Department of Architecture and Civil Engineering, City University of Hong Kong, Hong Kong
Chan YL, Department of Architecture and Civil Engineering, College of Engineering, City University of Hong Kong, Hong Kong.
Received Date: February 16, 2020; Published Date: March 03, 2020
Abstract
This research did review the performance of the new generation MV technology base on practical experience during Jan 2020 and Suggestion of the ability of application of new generation MV technology on construction industry.
Keywords:Machine Vision (MV); BIM; Construction; Heritage; Performance review
Introduction
Machine Vision (MV) technology is not a new invention and was at least applied to the manufacturing industry since 1980s [1], With the aid of method like Inline coherent imaging [2], Visible light imaging, sonic, magnificent detection, real-world objects can be captured and transfer into digital numerical data for computer analysis [3]. And during the popularize of technology, together Complementing with the development of BIM and quality control of the construction industry, more try on applying MV on the construction process was made, for example applying Laser-Based Vision System for Weld Quality Inspection [4]. But from the industry experience, these methods were not frequently used according to its cost in special techniques, development resources or selling price of package service. Alert that the rise of care on re-construction, renewal, maintenance and quality control, the application of MV technology should be developed to provide handy, fast and accurate performance especially for those may use in in-situ situation. Thus, two media-based equipment/software, ‘Display land’ from Ubiquity6 Inc. and “Structure Sensor 3D Scanner” from Occipital, Inc. , was tested in this article for understanding the ability of applying relatively handy MV technology for construction industry.
Technology
Display land( Version 0.6.2): Display Land is a free application which required three steps to scan things into 3D objects with photogrammetry skill. All the steps needed are only capture, edit and share. While the equipment requires can be any devises that are able to install the Display land application (briefly any Apple devise later then 6s). Display land offers users on capturing objects, places and different spaces anytime and everywhere. After recording the places, the digital model can then be generated from the application by one click. Global Positioning System(GPS) can be applied to the model. Then the 3D model can be uploaded to cloud server and can then transfer to QR code for reviewing.
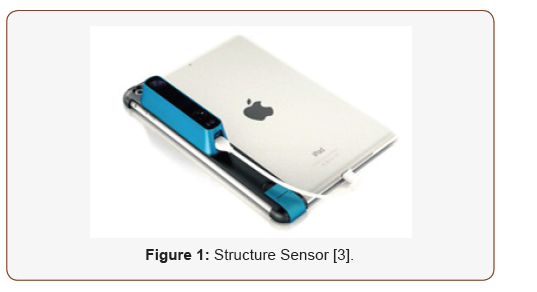
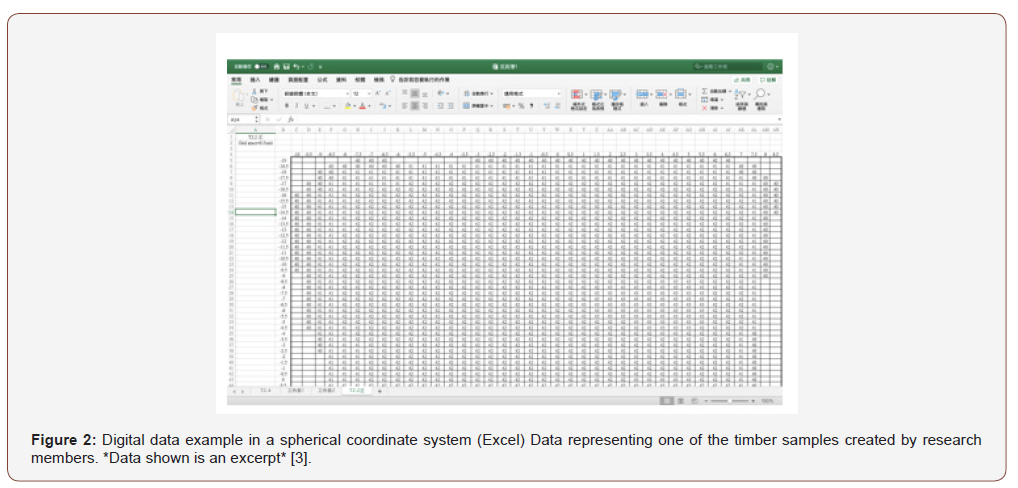
Structure sensor 3D scanner: The scanner is a removable hardware that includes infrared and ultra-wide vision camera. It can be hold on any iPad devise with a fit size bracket. The scanning process can take place on any non-transparent surface. 3D imagery (in obj.) can be directly imported into Adobe Photoshop(.psd) [3], and AutoCAD (dwg.) format where allowed fast conversion from digital images to 3D matrix which can be displayed on Excel for further analysis (Figures 1 & 2).
Methodology
As mentioned, to understanding the ability of applying relatively handy MV technology for construction industry, the research team mainly conduct two set of on-site testing in Shanxi province, China, under weather condition of dry bulk temperature lower than -15°C,snowing, average relatively humidity of lower than 50%. The research team suggested that heritage may be most suitable for testing on the ability of ‘new technology’ as the heritage may provide unique design on structure, light control and finishing surface comparing to most of the modern structure, which could be the blind spot of new technology development (Figure 3).

To provide more details, Display Land was used for capturing architectural feature and overall spacing of a structure while Structure Sensor 3D Scanner may capture the detail texture and dimensions of structural members.
List of testing spot/ structure
1. Pingyao Ancient City
2. Sakyamuni Pagoda
3. The Hanging Temple
4. Jin Temple
5. Jōdo-ji (Ying County)
Discussion
Performance on modeling and capturing
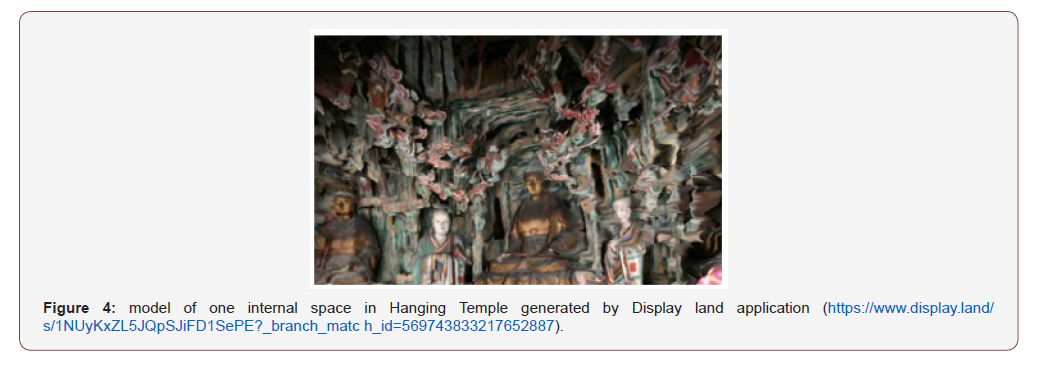
On architectural perspective: For the application of Display land, models were successfully created during the limited time spent on capturing. In total, 18 model are created, and they have recorded the in-situ situation of the temple including their interior designs, locations of the supports and other architectural details (Figure 4). Practical problems the analyzing process takes too much time and the model generated cannot be viewed immediately after recording. Hours are needed to generate the model of large area and los of details. The users cannot be spotted the distorted area immediately and recapturing the picture. Since the recording of heritage did not allowed for strong lighting, the varying natural lighting has distorting effect on the digital model. Comparing to the stimulation video provided by the app, usually the capturing stage is taken place in indoor so a complete and on-scale model can be created. As Chinese Heritage like FoTong Temple and Jinci has high headroom of over 2 meters. This makes the recording less accurate; the dimension is seriously diverse from the actual size (not even on scale), only part of the details inside the temple can be stored. The digital model can hardly use as a reference for engineering aspect. But for reference of the architectural aspects, such as studying the interior designs and the placement of the Buddhist, the models are barely acceptable.
On Engineering perspective: The performance of the structure scanner is well on capturing surface that the precision, which as the most captured samples were less than 1.5 meter from the devise and there for the precision should be higher than 99.5% suggested by Occipital, Inc., where through experience, the captured image have a averagely dimensional error of less than ±1mm which is quite sufficient for a brief check of welding section and tile finishing levels etc. There is also an eye-catching performance that the scanner can operate under environment without sufficient visible light sources according to its inferred camera. This would be extremely helpful for capturing covered locations during the construction process (Figure 5).

Performance on information sharing and filing
Display land: The Digital Model can then be easily opened and viewed from the phone. This function is practical for exhibiting the model, visitor can use their phone to get access to the model. Besides, the QR code can replace the traditional digital model which consume large storage space, time and effort to share among architects and engineers. There can be improvements for interface during capturing. During capturing stage, there are instructions such as ‘move forward’ or ‘move back’. But it does not specifically show the which details need to be recaptured again. Comparing to the ‘Pano’ function in camera of iPhone, there is the semi-finished photo shown in the middle. This confused about the process of capturing the architectures and hardened the recording of Chinese heritage and some of the digital model is distorted.
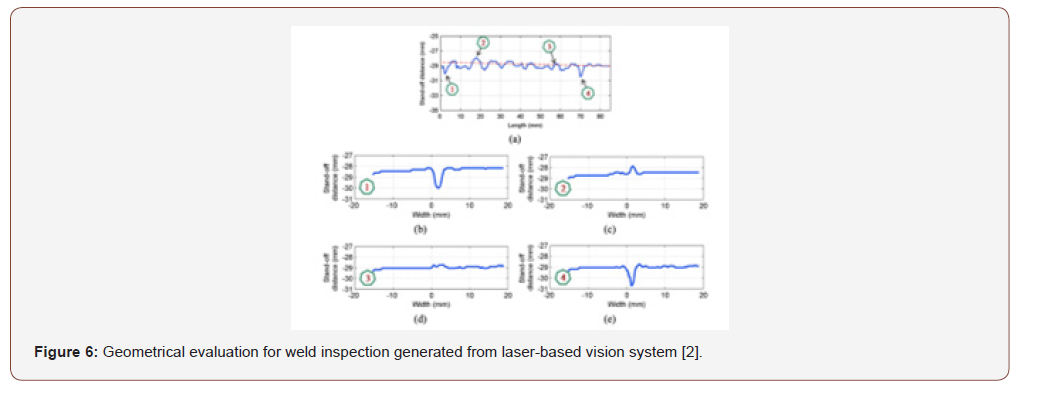
Structure 3D scanner: A clear, free-rotated 3D image of object can be immediately (the image generation process usually takes less than 1 minute) viewed after the scanning on the iPad before saving, which allows the operator to quickly check the captured model and re-scan if necessary. Also, the availability on transform to dwg. format allows further detail analysis offsite, the tri-column (3D) coordinate output can be directly used for inspection of workmanship and provide a quantify base for discussion. For example, a fast check for the consistence of welding quality (in terms of depth) can be operated by comparing the minimum depth of welding across the weld work done in different location for the project, and as the captured models were supposed to be named, they can be filed and maintain the traceability of the work. This kind of inspection method can be for seed applied into the industry and help with the communication took place within the middle level management and reduce the difficulties on inspection of work (Figure 6).
Other
Apart from the main function of Machine Vision (MV), the adaptability of technology would be a great concern base on the varying conditions of in-situ environment. During the extreme weather mentioned, mainly base on low temperature, the two technology did not show any reduce in accuracy or function, but there are several records on the failure for the operating devise (the iPad or smartphone etc.) due to the cold. This problem may not be directly related to the MV technology, but it would be understood as an important potential barrier for application of MV technology.
Conclusion
Among reviewing the two ‘new generation’ Machine Vision (MV) application on the mentioned extreme weather condition, we can understand the development of technology allows some well-developed MV to be Portable, fast in data collecting, accurate for industry inspection purpose, while for a universal application, maintain stability of devise under different environment and reducing the size of generated models would be the two key direction waiting in progress.
Acknowledgement
None.
Conflict of Interest
No conflict of interest.
References
- Werth L (1986) Machine Vision. In: Standard Handbook of Industrial Automation Springer Boston MA pp. 86-109.
- Webster PJ, Wright LG, Ji Y, Galbraith CM, Kinross AW, et al. (2014) Automatic laser welding and milling with in situ inline coherent imaging. Optics letters 39(21): 6217-6220.
- Lai DS, Leung AK, Chan D, Ching SH (2019) Cultural heritage preservation using new media methods: Yingxian Wooden Pagoda. Virtual Archaeology Review China 10(21): 103-115.
- Huang W, Kovacevic R (2011) A laser-based vision system for weld quality inspection. Sensors 11(1): 506-521.
-
Chan YL, Cheung LC, Zheng L, Fok HY. Application Review of Machine Vision (MV) Technology in Construction Industry. Cur Trends Civil & Struct Eng. 5(2): 2020. CTCSE.MS.ID.000610.
-
Machine vision (MV), Construction, Heritage, Performance review, Weld quality inspection, Display land, Structure sensor 3D scanner, Photogrammetry skill, Global positioning system(GPS), Operating devise
-

This work is licensed under a Creative Commons Attribution-NonCommercial 4.0 International License.


